
There is nothing quite as frustrating as trying to clean your home, only to make it smell significantly worse.
You pull your trusty sweeper out of the closet to tackle the living room rug in your New Philadelphia home. You flip the power switch, and within seconds, a foul, musty cloud fills the air.
Instead of enjoying the scent of a freshly cleaned house, you are forced to throw open the windows to air out the room. If your vacuum smells bad, you are not alone.
This is one of the most common complaints we hear from homeowners at John’s Sweeper Service in downtown Dover. A stinky vacuum cleaner completely defeats the purpose of doing your weekend chores.
The good news? A smelly vacuum does not mean your machine is ruined. With a little bit of elbow grease and some expert knowledge, you can absolutely freshen up your vacuum.
In this comprehensive guide, we will explore the root causes of these foul odors. We will teach you exactly how to deodorize a vacuum cleaner, tackle stubborn pet smells, and identify when an odor is actually a warning sign of a dangerous mechanical failure.
The Evidence of a Broken Sweeper (The “Smell” Test)
Before you start washing filters and sprinkling baking soda, we need to diagnose the specific type of odor your machine is producing.
Not all bad smells are created equal. Some odors simply mean your vacuum is dirty, while others are blaring alarms that your machine is actively destroying itself.
If your sweeper is exhibiting certain sharp, chemical smells, it is screaming for professional help. Here is our quick-reference table to help you identify the evidence of a broken machine using just your nose:
| The Warning Odor | What the Evidence Means | Your Next Step |
| A Sharp, Acrid Burning Smell | The brush roll is jammed. The motor is spinning, but the rubber drive belt is melting. | Unplug immediately! Clear the jammed brush roll and replace the melted belt. |
| A “Fishy” or Ozone Electrical Smell | The motor is overheating, or internal wires are short-circuiting. | Stop using it. Bring it to the shop. Never attempt DIY electrical repairs. |
| A Heavy, Musty “Wet Dog” Scent | Biological matter (pet dander, mold, food particles) is rotting inside the bag or filters. | Empty the bin, change the bag, and perform a deep clean of all washable parts. |
| A Dusty, Stale Odor | The exhaust filters are completely clogged, or the bag is overfilled. | Check your primary and HEPA filters. Replace them to restore clean airflow. |
| Smells Like Hot Metal | The internal carbon motor brushes are worn down, grinding metal directly on metal. | Turn it off! Bring the machine in for immediate motor service before it is ruined. |
If your machine is producing a burning rubber or electrical fire smell, stop reading and bring it to our Dover repair bench. If you are just dealing with a musty, dusty, or pet-related stink, let’s get to work!
Why Does My Vacuum Smell Musty? The Science of Stink
To effectively banish a bad smell, you have to understand why it formed in the first place.
Your vacuum cleaner is essentially a high-powered dirt transportation system. Every time you turn it on, you are sucking up a staggering variety of organic material from your Tuscarawas County floors.
You are picking up dead skin cells, food crumbs, microscopic mold spores, soil from the garden, and microscopic dust mites.
All of this organic matter gets blasted into the dark, warm, and tightly sealed environment of your vacuum’s collection bin or bag. It is the absolute perfect recipe for biological decay.
As the Environmental Protection Agency constantly reminds us, poor indoor air quality is often linked to the accumulation of organic pollutants and moisture. If you accidentally vacuum up a damp rug in Sugarcreek or suck up a few drops of spilled water in the kitchen, you have introduced moisture into that dark environment.
Within 24 to 48 hours, mold and bacteria will begin to grow inside your sweeper. When you turn the machine on, the exhaust air blows the gaseous byproducts of that bacteria straight into your face. That is why your vacuum smells musty.
The Number One Culprit: Pet Odor in Vacuum Cleaner
If you share your Ohio home with shedding dogs or cats, you already know the struggle.
Pet odor is incredibly pervasive, and it is the single most difficult smell to remove from a household appliance. But why does pet hair smell so much worse than regular household dust?
The answer lies in biology. Dogs and cats naturally produce sebum, a waterproofing oil secreted by their skin to protect their coats. According to veterinary experts at the ASPCA, these natural oils easily transfer to the hair that sheds onto your carpets.
When you vacuum up that pet hair, those heavy, smelly oils come right along with it.
The “Sticky” Problem with Pet Dander
Unlike dry sand or dirt, pet oils are incredibly sticky. They adhere to the inner walls of your vacuum hose. They coat the plastic sides of your bagless dustbin. They rapidly clog the microscopic pores of your HEPA filters.
Over time, these oils turn rancid. They act like a glue, trapping even more dirt and bacteria.
This is why simply emptying the dustbin never seems to fix a stinky vacuum cleaner issue for pet owners. To truly eliminate pet odor in a vacuum cleaner, you have to cut through those rancid oils with soap and water.
Vacuum Smells Like Burning Rubber: A Critical Warning
We need to take a quick detour from biological smells to discuss mechanical smells.
If you are vacuuming your Strasburg living room and suddenly smell a sharp, acrid scent like tires burning on asphalt, you have a mechanical emergency.
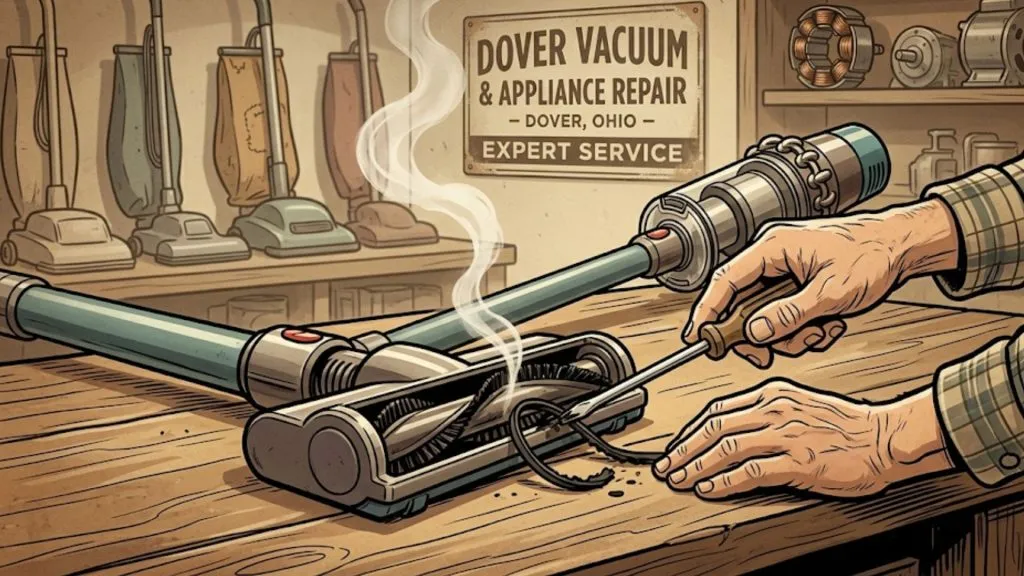
This is not a “stinky vacuum cleaner” issue that baking soda can fix. A vacuum smells like burning rubber when the drive belt is being actively destroyed.
How a Belt Melts
Your vacuum uses a rubber belt to connect the spinning electric motor to the bristle brush roll on the floor.
If your sweeper sucks up a rogue sock, the fringe of an area rug, or a massive clump of pet hair, the brush roll will instantly jam and stop spinning. However, the electric motor doesn’t know the brush is jammed. The motor keeps spinning at thousands of revolutions per minute.
The metal motor shaft spins frantically against the stationary rubber belt. The intense friction causes the rubber to melt and smoke within seconds. If you ignore this smell, the heat can actually melt the plastic housing of your expensive vacuum.
If you smell burning rubber, unplug the machine, cut the hair away from the brush roll, and come see us in Dover for a fresh replacement belt.
How to Deodorize a Vacuum Cleaner: The Deep Clean Guide
Now that we know what causes the musty, pet-related, and stale odors, it is time to take action.
Cleaning a smelly vacuum requires a systematic approach. You need to dismantle the machine and clean the entire airflow pathway. Plan to do this on a sunny Saturday, as some parts will need time to dry.
Here are our expert home cleaning tips for restoring your machine to factory-fresh condition.
Step 1: Empty the Bin or Toss the Bag
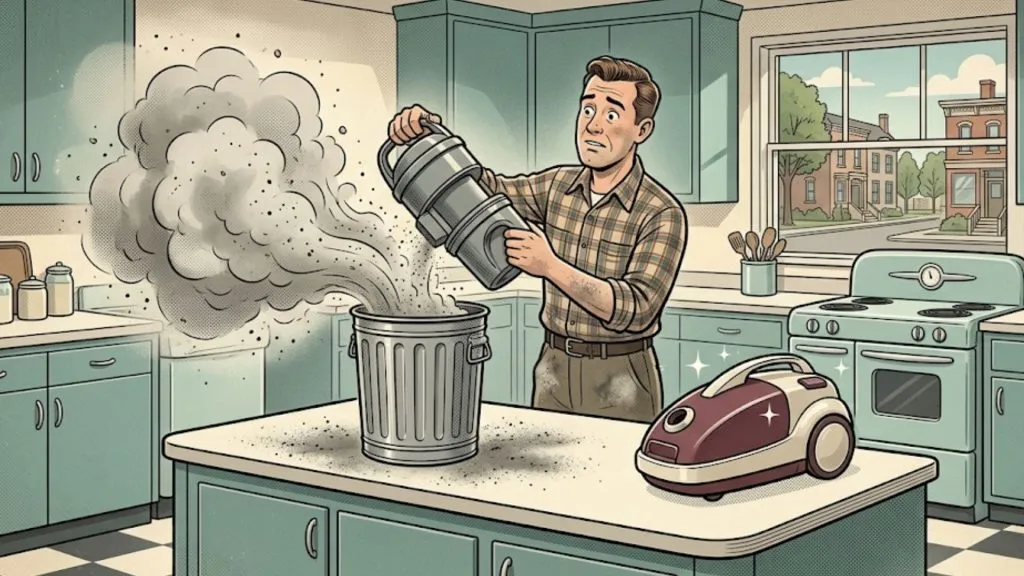
The first step is removing the source of the rot. Take your vacuum outside to the trash can to prevent a dust cloud from ruining your indoor air.
If you have a bagged vacuum, throw the bag away, even if it is only half full. The cost of a single bag is worth getting rid of a terrible odor.
If you have a bagless vacuum, empty the plastic canister completely. Use an old toothbrush to gently brush away the dust caked onto the internal cyclone cones.
(Pro Tip: This specific odor issue is exactly why we often recommend bagged machines for pet owners. Read our full guide on bag vs bagless vacuums to learn why bags are vastly superior for odor control.)
Step 2: Wash the Bagless Canister
If your machine is bagless, the plastic canister is covered in rancid pet oils and fine dust.
Take the empty plastic canister to your kitchen sink. Wash it thoroughly with warm water and a grease-cutting dish soap (like Dawn). Use a soft sponge to scrub away the grimy film coating the inside walls.
Rinse it completely and set it on a towel to air dry.
Step 3: Tackle the Filters (The Source of the Musty Smell)
Your filters are the lungs of your vacuum cleaner. If they are choked with rotting dust, every breath your vacuum takes will smell awful.
Check your owner’s manual to locate all the filters. Most machines have a pre-motor filter (often made of washable sponge) and a pleated HEPA exhaust filter.
- Washable Sponge Filters: Rinse these under cold water in the sink. Squeeze them gently until the water runs completely clear. Crucial Step: You must let these air dry for at least 24 to 48 hours. Putting a damp filter back into a vacuum is the number one cause of horrific mold smells.
- Pleated Paper/HEPA Filters: These generally cannot be washed. If they are gray, black, or smell foul, they must be thrown away.
Don’t buy cheap, generic knock-off filters online, as they often fail to seal properly. Visit our Dover shop to find genuine residential vacuum supplies that will perfectly fit your machine.
Step 4: Clean the Brush Roll Housing
Flip your vacuum over and look at the floor head. The brush roll is likely covered in hair, string, and carpet fibers.
This trapped debris can hold onto bad odors. Use a seam ripper or small scissors to carefully cut the hair away from the roller.
Take a damp microfiber cloth and wipe out the plastic housing that surrounds the brush roll. You will be amazed at how much sticky, smelly dirt clings to the underside of your machine.
Step 5: Wash the Non-Electrified Attachments
Gather your plastic crevice tools, dusting brushes, and upholstery nozzles. These attachments are often shoved deep into couch cushions, picking up sweat, skin cells, and pet dander.
Fill a bucket with warm water and a few drops of dish soap. Submerge the plastic tools and let them soak for ten minutes. Rinse them clean and let them air dry completely.
Warning: Do not soak any motorized attachments or tools that have metal electrical prongs on them!
Pro-Tips: Freshen Up Your Vacuum
Once your vacuum is completely clean and fully dry, reassemble it. You should immediately notice a massive improvement in the exhaust air quality.
To keep your machine smelling pristine in the future, you can implement a few of our favorite vacuum care tips for odors.
1. The Baking Soda Trick
Baking soda is a natural, highly effective odor absorber. It neutralizes the acidic compounds that cause foul smells.
If you use a bagged vacuum, sprinkle a tablespoon of dry baking soda directly into the new bag before you start cleaning. If you use a bagless machine, sprinkle baking soda directly onto your carpet, let it sit for fifteen minutes, and then vacuum it up. It will deodorize the carpet and the dustbin simultaneously.
2. Commercial Vacuum Scent Tablets
If you want your home to smell like a spring meadow while you clean, skip the messy powders.
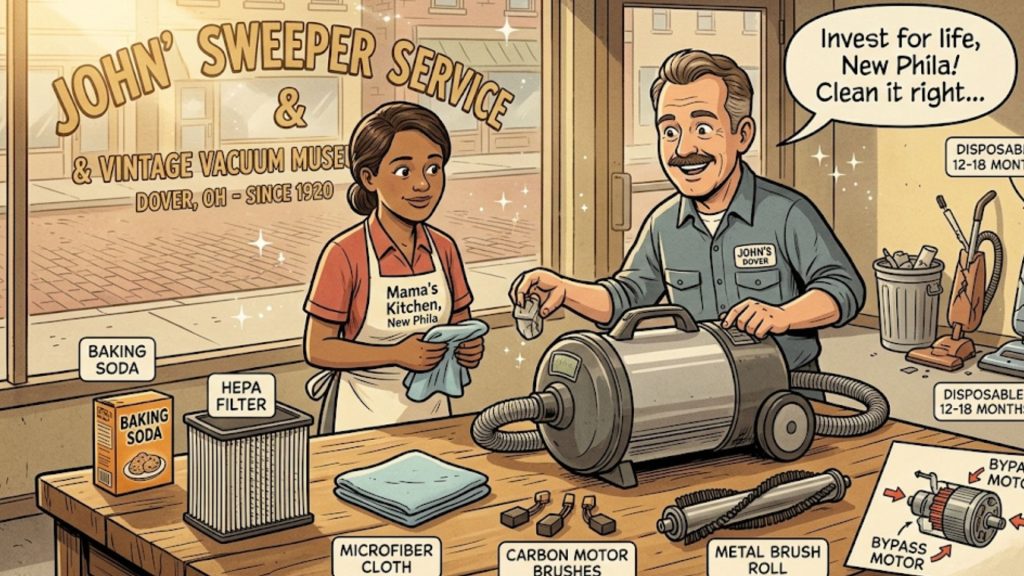
At John’s Sweeper Service, we sell highly concentrated, safe vacuum scent tablets. You simply drop one tablet directly into your vacuum bag or bagless bin. As the exhaust air flows over the tablet, it releases a powerful, pleasant fragrance that masks any lingering dust smells.
3. What NOT to Use (The Essential Oil Danger)
Many online home cleaning tips recommend placing a few drops of liquid essential oils directly onto your vacuum’s paper filter.
Do not do this. Essential oils are liquids. When you apply liquid to a paper or sponge filter, the intense airflow of the motor pulls that moisture deep into the machine.
The oil traps fine dust instantly, creating a cement-like clog on your filter. Worse yet, the oil can get sucked directly into the electric motor, causing it to overheat and fail prematurely. Stick to dry deodorizers!
Preventative Vacuum Care Tips for Odors
The absolute best stinky vacuum cleaner fix is preventing the smell from happening in the first place.
If you change your cleaning habits just slightly, you can keep your machine smelling fresh year-round.
- Never Vacuum Wet Messes: Unless you own a dedicated wet/dry shop vacuum, never use your household sweeper on damp carpets, spilled cereal, or wet soil. Moisture is the enemy of a clean-smelling vacuum.
- Empty Frequently: Do not let dirt sit inside your machine for weeks on end. Empty your bagless bin after every single use.
- Change Bags Early: If you own a pet, do not wait for the bag to be 100% full. Change it when it reaches the halfway mark to get the rotting pet hair out of your home.
- Keep Your House Ventilated: Regular vacuuming kicks up microscopic dust. Open a window while you clean to let the stale air escape your home.
When to Call the Pros in Dover, OH
While washing the bin and changing the filters will solve 90% of odor issues, sometimes a smell is too deeply embedded for a DIY fix.
If you have tried everything and your sweeper still smells like a wet dog, or if you noticed that terrifying burning rubber smell we discussed earlier, it is time to call for backup.
At John’s Sweeper Service, we are the premier destination for vacuum care in Tuscarawas County. We offer professional, deep-cleaning services for machines that have been heavily neglected.
We can completely disassemble your machine, wash the internal airways, clear out hidden clogs, and safely replace damaged belts or failing motors. We provide honest, upfront estimates so you never have to guess the cost of a repair.
Visit Our Vintage Vacuum Museum!
When you drop your smelly machine off for a deep-cleaning spa day, we invite you to stay and explore a unique piece of local history.
Our downtown Dover storefront is incredibly proud to host the area’s only Vintage Vacuum Museum. Take a walk through our massive collection of fully restored, pristine antique sweepers.
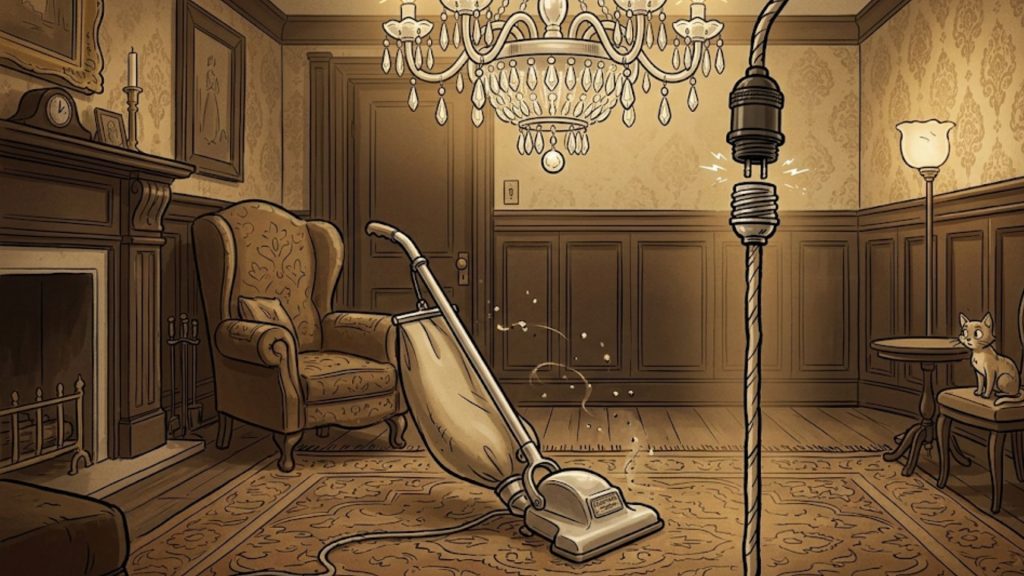
See the heavy cast-iron machines of the 1920s, marvel at the gleaming chrome tanks of the 1950s, and learn how the American home evolved over the last century. It is a nostalgic, educational, and truly fun experience that proves they really don’t make them like they used to.
Don’t let a foul odor ruin the hard work you put into cleaning your home. For expert advice, authentic supplies, and professional repairs, visit John’s Sweeper Service today!
John’s Sweeper Service & Vintage Vacuum Museum
- Downtown Dover, OH
- Call: 330-343-4092
Related reading: Corded vs. Cordless Vacuums: A Head-to-Head Comparison | Parts for Old Vacuums: Your Ultimate T-County Restoration Guide