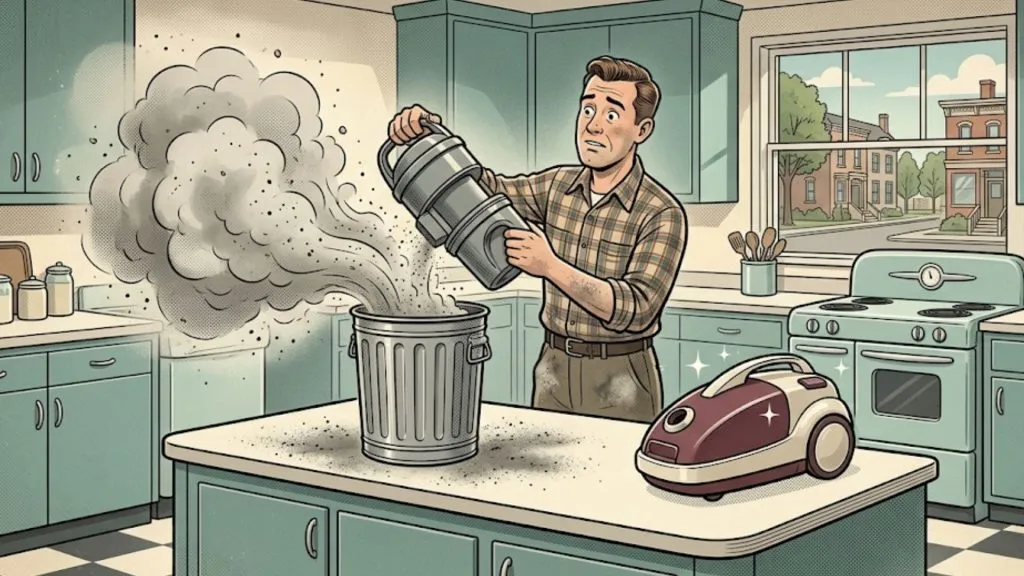

Nothing ruins your weekend cleaning routine faster than a vacuum that suddenly stops doing its job.
You are standing in your New Philadelphia living room, the motor is whirring loudly, but when you run the floor head over a pile of crumbs, absolutely nothing happens. You detach the wand to check the suction, and you realize the heartbreaking truth: your vacuum is completely choked.
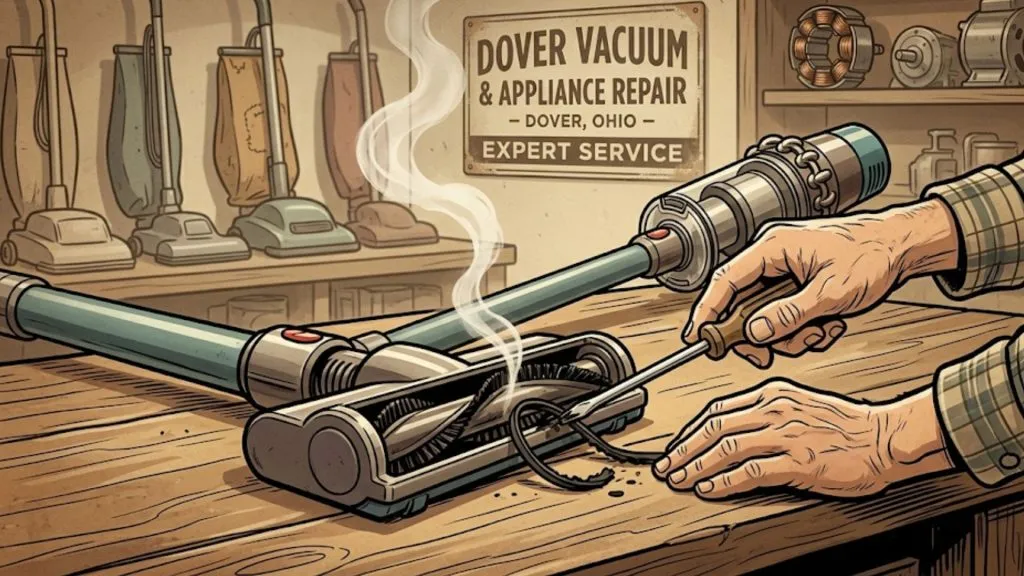
This is a scenario we hear about every single day at John’s Sweeper Service in downtown Dover. A clogged hose or attachment is incredibly frustrating, but the good news is that it is rarely a fatal flaw for your machine. Most blockages are not mysterious mechanical failures, but rather an accumulation of everyday debris wedged in the narrow passages of your vacuum—making it one of the most common vacuum problems we see.
In this comprehensive DIY guide, we are going to walk you through the exact steps we use on our Dover repair benches to safely clear a vacuum blockage.
Before we start poking around inside your sweeper’s hose, we need to make sure a simple clog is actually your problem. How do you know if your machine is just choked with pet hair, or if it is suffering from a much larger mechanical failure?
The Evidence of a Broken Sweeper
Sometimes, a “clog” is actually a symptom of a failing motor or a broken drive system. If you spend an hour trying to unclog a hose when the motor is actually dead, you are just wasting your time.
If your machine is exhibiting any of these severe symptoms, it is screaming for professional help. Here is our quick-reference table to help you identify the evidence of a genuinely broken sweeper:
| The Warning Sign | What the Evidence Means | Your Next Step |
| High-Pitched Screaming | The motor is suffocating. A clog is forcing the fan to spin at unsafe, excessive speeds. | Turn it off! Find the clog immediately before the motor burns out. |
| A Sharp Burning Smell | The brush roll is jammed. The motor is spinning, but the rubber drive belt is melting against the friction. | Unplug immediately! Clear the brush roll and replace the belt. |
| Spitting Dirt Back Out | The hose is completely blocked, or the internal dirt bag has ruptured inside the housing. | Check the bag compartment. If it is clean, inspect the hose entry port. |
| Loud Grinding Noises | The motor bearings are failing, or a hard object (like a coin) has shattered the internal suction fan. | Stop using the machine. This requires an expert tear-down. |
| Machine Won’t Turn On | You likely have an internal electrical short, a blown thermal fuse, or a fractured power cord. | Bring it to the shop. Never attempt DIY appliance electrical work. |
If your sweeper is humming along normally but simply has zero suction at the hose, you are in luck. You just have a blockage. Let’s get it cleared!
Step 1: Safety First and The “Hand Test” Diagnostic
Before you begin any DIY vacuum repair, the most critical first step is to ensure your personal safety.
As the Electrical Safety Foundation constantly warns, you must completely unplug the machine from the wall outlet. Never attempt to inspect or clear a clog with your fingers while the vacuum is connected to power.
Once unplugged safely, we need to perform the “Hand Test.” This simple diagnostic is the absolute foundation of vacuum cleaner troubleshooting. It saves you from searching for a clog in the hose when the problem is actually inside the machine.
- Detach the flexible hose completely from the main body of the vacuum cleaner.
- Plug the machine back in and turn the vacuum on for just a moment.
- Carefully place your hand flat over the intake port directly on the body of the machine (where the hose usually connects).
If you feel incredibly strong, skin-pulling suction right at the base of the machine, congratulations! The motor is healthy, and the problem is 100% located within your flexible hose or wand.
However, if the suction is weak or nonexistent at the machine itself, your hose is fine. The issue is likely a completely packed dirt bag, a severely clogged filter, or an internal motor gasket failure.
Step 2: Understanding the Usual Suspects
Knowing what you are looking for is half the battle when fixing a clogged sweeper. Clogs rarely happen instantly. They typically form when a larger, oddly shaped item gets stuck inside the ribbed walls of the hose.
Once that “anchor” object is stuck, it acts like a net. It catches smaller bits of dirt, dust, and hair over several weeks until a solid plug is formed, choking off the airflow entirely.
Here are the most common culprits we extract from vacuums in Tuscarawas County:
- Pet Hair and Human Hair: Ohio homes with shedding golden retrievers or long-haired cats are incredibly prone to clogs. Long strands easily wrap around themselves, forming dense, stubborn felt-like balls that are very difficult to dislodge.
- The “Rogue” Debris: Items like pennies, paper clips, bobby pins, small children’s toys (Lego bricks are notorious!), bottle caps, or even stray socks are frequently the primary anchor for a major blockage.
- Pine Needles and Leaves: Around the holidays, dry pine needles are a vacuum’s worst enemy. They slide into the hose vertically and then turn horizontally, wedging themselves into the ridges of the hose.
- Wet Messes and Food: Vacuuming up slightly damp cereal, potting soil, or spilled kitchen ingredients is a massive mistake. The moisture mixes with fine dust to create a paste that hardens like concrete inside your hose.
Step 3: Checking the 4 Clog Hotspots
Sometimes the main flexible hose is clear, but you still have no suction at the end of your wand. In this case, the clog is hiding in one of the secondary pathways.
Before you attack the main hose, systematically disassemble your vacuum and check these four critical hotspots:
1. The Beater Bar and Floor Head
Unplug the vacuum and turn the main floor head over. Check the small, narrow curved neck where the dirt leaves the brush roll and travels up into the machine. This tight curve is the most common place for heavy debris to bottleneck.
2. The Rigid Wands
Separate all the hard, rigid extension wands. Look straight through them like a telescope toward a light source. Clogs almost always get stuck at the connection joints where the plastic narrows.
3. The Attachments
Check the narrow opening of your crevice tool, and the spinning turbines of your specialized pet-hair upholstery brushes.
4. The Bag Inlet Port
Check the tiny opening where the dirt physically enters the vacuum bag or the bagless canister. We often see giant wads of pet hair stuck right at this entry point, essentially acting as a closed door that prevents any new dirt from entering the collection bin.
Step 4: Our Top 3 DIY Unclogging Methods
Once you have confirmed the solid clog is trapped deep inside the flexible hose, it is time for the actual fix.
Start by straightening the hose out completely on the floor. Gently squeeze and massage the exterior of the hose along its length. Sometimes, simply squishing the hose changes the shape of the clog enough to break the “seal,” allowing you to shake the debris out.
If squeezing doesn’t work, here are the three methods we use to force blockages out.
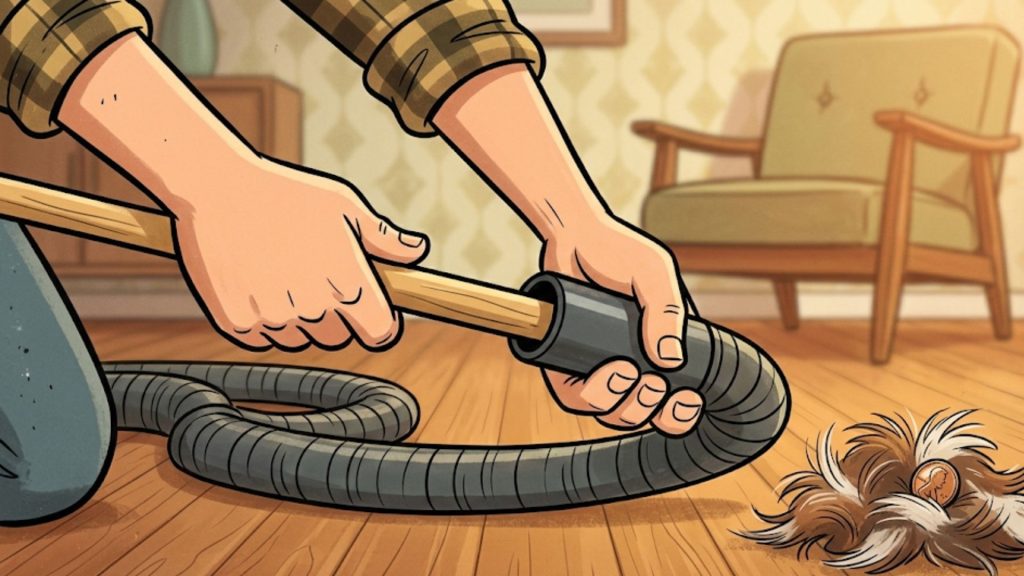
Method 1: The Broom Handle Push (Safest)
This is the safest and most effective method for straight, non-electrified hoses.
- Carefully insert a blunt, long object—like a smooth wooden broom handle, a thick wooden dowel, or a piece of rounded PVC pipe—into one end of the hose.
- Gently and slowly push it through.
- Warning: Never use rapid, aggressive, or stabbing motions. If the handle slips or the clog is wedged tight, you could easily puncture the thin plastic wall of the flexible hose, ruining it forever.
Method 2: The Wire Hanger Trick (Use Extreme Caution)
If the clog is close to the end of the hose but you just can’t reach it with your fingers, a wire coat hanger can be a lifesaver.
- Unwind a wire coat hanger and straighten it out.
- Use pliers to bend the very end into a tiny, dull, U-shaped hook.
- Gently feed it into the hose to snag the clump of hair or the sock, and slowly pull the clog backward.
- Warning: Be incredibly cautious. The sharp metal edge of a coat hanger can easily slice through the vinyl of your vacuum hose, creating a massive air leak.
Method 3: The Water Flush (For Basic Hoses ONLY)
If a hose is clogged with sticky, dried food debris, physical pushing might not work. In very specific cases, you can use water pressure from an outdoor spigot or a utility sink to blast the clog out.
CRITICAL WARNING: This method can only be used on basic, “dummy” hoses.
Many modern, high-end upright and canister vacuums use an “electrified” hose. This means there are live copper wires running directly through the plastic casing of the hose to deliver electricity to the spinning brush head on the floor.
If your hose has metal connection prongs at the ends, do not put water inside it. You will instantly short-circuit the machine and potentially start a fire when you plug it back in.
If you have a safe, basic hose and choose to wash it out, you must hang the hose vertically over a shower rod and allow it to air dry completely for a minimum of 48 hours. Reattaching a damp hose to your vacuum will suck moisture directly into your motor, permanently destroying the engine.
Step 5: The “Invisible” Clog (Filter Neglect)
What happens if you have checked the hose, checked the wand, and verified the motor is running, but you still have terrible suction?
You are likely dealing with an “invisible clog”—a completely suffocated exhaust filter.
A vacuum cleaner needs to “breathe” to create suction. As the appliance experts at the Good Housekeeping Institute regularly point out, if the air cannot escape out the back of the machine, it cannot pull dirt in through the front.
If your pre-motor or HEPA post-motor filters are caked in a thick layer of fine gray dust, the airflow is completely choked. This mimics the exact symptoms of a physical hose blockage. Check your user manual, and either wash or replace your primary filters to instantly restore your lost suction power.
Step 6: Brand-Specific Clog Quirks to Know
While the basic physics of a clog are the same for every vacuum, the way manufacturers design their airflow paths can make unclogging them a unique challenge. Knowing your specific brand’s quirks will save you a massive headache.
Shark Vacuums
Shark vacuums are notorious for utilizing a highly complex system of sharp bends, right angles, and short, rigid connection tubes at the base of the machine. Clogs in a Shark rarely happen in the main hose; they almost always happen in the short, clear tube that connects the floor head to the upright body. You can often clear this by squeezing the short tube, but you may need to unscrew the base plate to reach it.
Dyson Vacuums
Dyson machines use an intricate multi-cyclonic system. If you suck up a massive clump of pet hair or a large leaf, it can bypass the main bin and actually get wedged up inside the delicate plastic cones of the cyclone assembly. You cannot use a broom handle here! You must carefully disassemble the cyclone shroud to pull the debris out by hand. Furthermore, Dyson utilizes internal suction-release valves that pop open if a clog is detected, making a loud, high-pitched squealing noise.
Premium Brands (SEBO, Miele, Riccar)
High-end, “Buy It For Life” machines from our Dover showroom are specifically engineered to avoid clogs. They feature direct-suction pathways with far fewer bends and bottlenecks than big-box brands. Furthermore, many models feature an easy-access clean-out port directly on the floor head, allowing you to instantly pop open the airway and remove blockages without needing a single tool.
When to Call the Sweeper Experts in Dover, OH
While many issues can be solved with these simple DIY vacuum repair methods, some blockages are too deep, too compacted, or indicate a larger mechanical problem.
If you have tried the broom handle, checked the filters, and verified the bag isn’t full, but your vacuum still isn’t pulling dirt, it is time to seek professional help.
Forcing a tool too hard can easily rip a $100 electrified hose, and ignoring a motor-related suction issue can lead to burning out the unit entirely. Do not risk causing more expensive damage; let an expert take a look.
Here at John’s Sweeper Service, we provide expert vacuum repair near New Philly and all of Tuscarawas County. Our experienced technicians can quickly diagnose and resolve any issue, from the most stubborn, cement-like clogs to complex motor bearing replacements. We keep a massive inventory of belts, bags, and authentic parts on hand to get your machine running like new again in record time.
Explore Our Unique Local Museum!
When you drop your machine off for a repair estimate, we highly encourage you to stay and experience something truly unique in our community.
Our downtown Dover store is also home to the area’s only Vintage Vacuum Museum. Take a fascinating journey through the history of cleaning technology. See the heavy, indestructible metal machines of the 1930s, the space-age floating sweepers of the 1960s, and learn how these essential household appliances have evolved over the decades. It is a fun, nostalgic, and educational stop right here in our hometown.
Don’t let a stubborn clog ruin your cleaning routine. For honest advice, genuine parts, and expert service, visit John’s Sweeper Service today!
John’s Sweeper Service & Vintage Vacuum Museum Downtown Dover, OH Call: 330-343-4092
Related reading: Your Essential Monthly Vacuum Maintenance Checklist