
A vacuum cleaner is one of the hardest-working appliances in your home, but it is often the most neglected. We expect it to suck up winter slush in Dover, pet hair in New Philadelphia, and yard dirt in Sugarcreek without a single complaint.
Yet, we rarely give our sweepers the attention they need to perform at their best.
At John’s Sweeper Service, we know that the difference between a vacuum that lasts five years and one that lasts fifteen comes down to consistent, simple maintenance. Think of it as an investment. A few minutes of preventative care each month can save you from the frustration of a dirty home and the expense of premature replacement.
Before we dive into the maintenance checklist, let’s talk about the warning signs. How do you know if your lack of maintenance has already crossed the line into mechanical failure?
The Evidence of a Broken Sweeper
Following a maintenance routine is great, but if your machine is already exhibiting severe symptoms, a new filter won’t save it.
If you notice any of the following signs, your sweeper is screaming for help. Here is a quick-reference table to help you identify the evidence of a broken machine:
| The Warning Sign | What the Evidence Means | Your Next Step |
| A Sharp Burning Smell | The brush is jammed and the motor is melting the rubber drive belt. | Unplug immediately! Clear the jam and replace the belt. |
| Spitting Dirt Back Out | There is a massive clog in the hose, or the bag is completely packed. | Empty the bin, change the bag, and check the airways. |
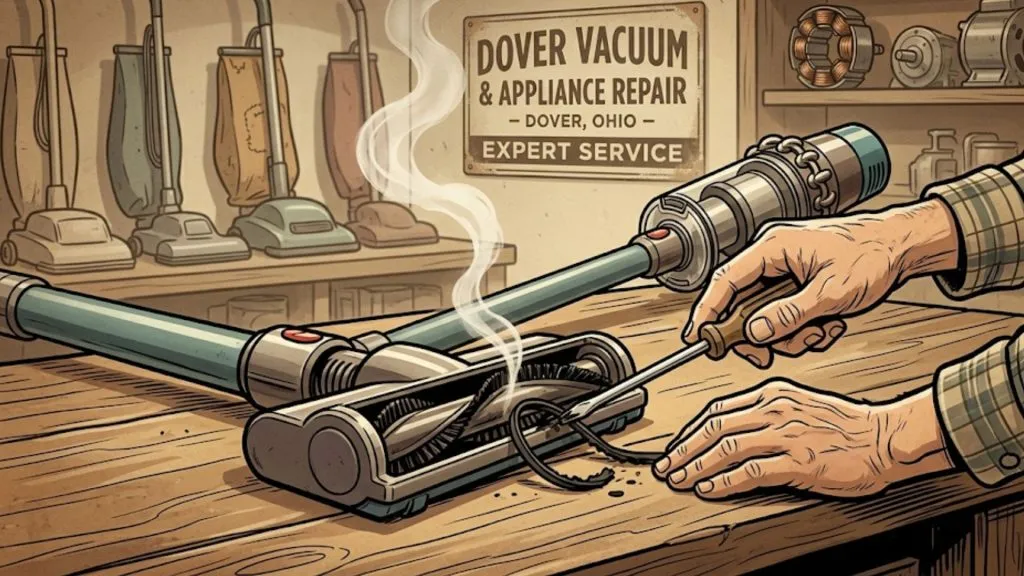
| Loud Grinding Noises | The motor bearings are failing or a hard object is destroying the fan. | Stop using it. This requires professional repair. |
| Zero Suction at the Floor | The brush roll is not agitating, or the base plate seal has failed. | Check the roller for hair tangles and test the belt. |
| Machine Won’t Turn On | You likely have an internal electrical short, a bad switch, or a frayed cord. | Bring it to the shop. Do not attempt DIY electrical work. |
If your machine is clear of these major warning signs, you are ready to start your monthly tune-up! Let’s walk through the steps to keep your machine pulling dirt like the day you bought it.
Step 1: Bags, Bins, and Canisters
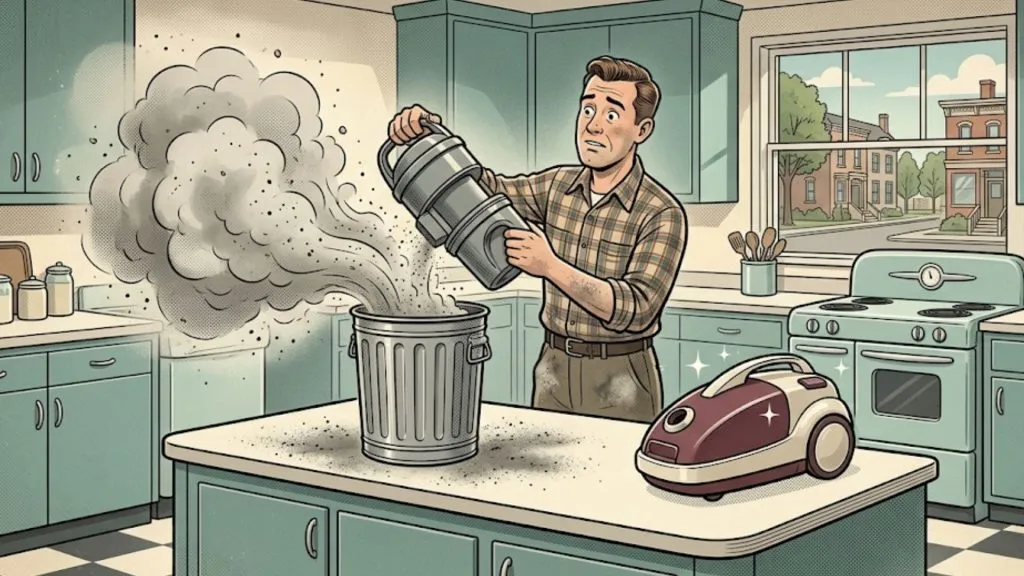
The most fundamental aspect of maintaining your vacuum cleaner starts with the part that holds the dirt. Whether you have a bagged or bagless model, a packed dirt container is the number one enemy of suction power.
When a bag is full, airflow is drastically reduced. This forces the motor to work incredibly hard to pull in air, leading to overheating and premature failure.
- For Bagged Vacuums: Never let the bag get more than two-thirds full. It is a common misconception that you should wait until it is bursting at the seams. Changing it early protects your motor and ensures your suction remains strong.
- For Bagless Vacuums: Empty the dustbin after every single use. This is non-negotiable for maintaining suction. If you let dirt sit in the bin for weeks, the fine dust will permanently clog the internal cyclones.
- Deep Clean the Canister: Once a month, take your bagless canister apart and wipe out the inside with a damp cloth. This removes the fine layer of dust clinging to the plastic sides. Let it air dry completely before reinstalling it, or you risk growing mold inside your machine.
Step 2: Check Your Airways (Hoses and Attachments)
If your vacuum’s suction seems weak even with an empty bag, the next likely culprit is a hidden clog.
Hoses, wands, and entry points are magnets for pet hair, stray socks, and clumps of debris. A partial clog puts a heavy, constant load on your vacuum’s motor, causing it to run hotter than it was designed to.
- The Visual Inspection: Detach the hose completely from the base and the wand. Stretch it out and look through it in a well-lit room. You should see a clear circle of light at the other end.
- The Broom Handle Trick: If you can’t see through it, drop a heavy coin down the hose. If it doesn’t fall through, carefully use a blunt broom handle to gently push the obstruction out. Never use a sharp wire coat hanger, as it can easily puncture the flexible plastic hose.
- Wash Your Attachments: A dust-caked upholstery tool won’t clean your furniture; it will just rub old dirt into your cushions. Pull out built-up lint and wash your plastic crevice tools and dusting brushes in warm, soapy water.
Step 3: The Heart of the Action (The Brush Roll)
The spinning brush roll (or beater bar) is what truly deep-cleans your carpets by agitating the fibers to lift heavy grit. Over time, it inevitably becomes a tangled mess of hair, dental floss, and string.
When the brush roll is wrapped tightly, it can’t spin freely. This strains the motor, damages your carpet fibers, and can easily snap your rubber drive belt.
- Safety First: Always unplug your vacuum from the wall before putting your hands anywhere near the brush roll.
- Cut, Don’t Pull: Turn the vacuum over. Use a seam ripper or a small pair of scissors to carefully snip through the tangled hair. Never pull forcefully on the hair, as you can easily damage the delicate bearings on the ends of the roller.
- Check the Spin: Once clean, give the brush roll a spin with your hand. It should move with some resistance from the belt, but it shouldn’t feel completely stiff, locked, or gritty.
Step 4: Breathe Easy (Maintaining Your Filters)
Your vacuum’s filters are the unsung heroes of your home’s air quality. They protect the delicate motor components from fine dust and trap microscopic allergens before they can be blown back into your living room.
The Environmental Protection Agency stresses that proper indoor filtration is critical for reducing airborne allergens like pet dander and dust mites. A clogged filter chokes off airflow entirely, suffocating the machine.
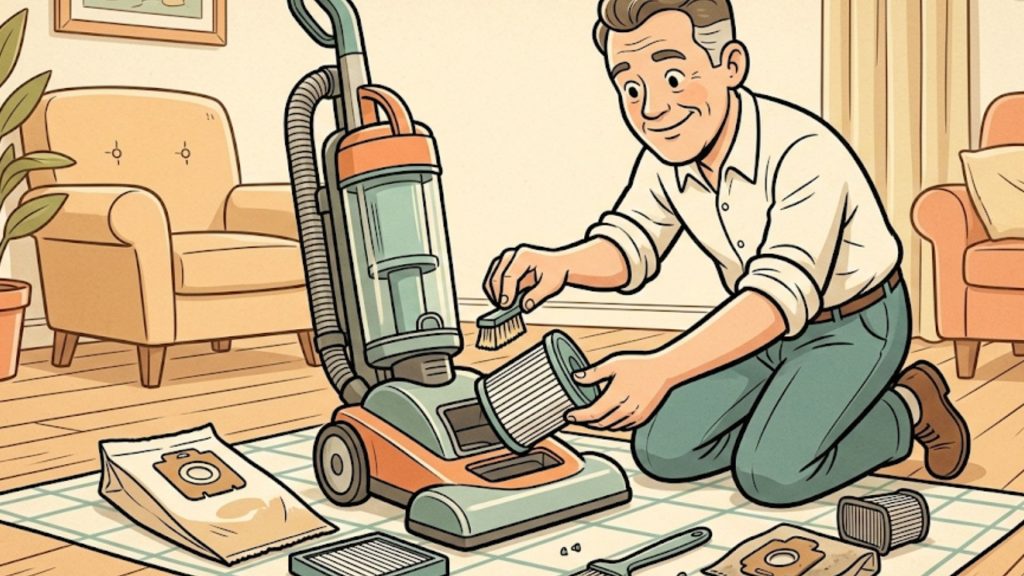
- Locate Your Filters: Most modern vacuums have a pre-motor filter (to protect the engine) and a post-motor or exhaust filter (to protect your lungs).
- Wash or Replace: Washable foam filters should be rinsed under cool water until the water runs completely clear. Let them air-dry for a full 24 to 48 hours. Never put a damp filter into a vacuum, as the dark, warm environment will instantly grow mold.
- Follow the Schedule: Non-washable paper or HEPA filters should be replaced every 3 to 6 months. According to appliance experts at the Good Housekeeping Institute, replacing these filters on schedule is the absolute easiest way to prolong the life of your appliance.
Step 5: Wheel Maintenance (Protecting Your Hardwood Floors)
If you have beautiful hardwood, laminate, or luxury vinyl plank (LVP) flooring in your Tuscarawas County home, this step is absolutely crucial.
Many homeowners blame their vacuum’s plastic base for scratching their floors, but the real culprits are usually the vacuum’s wheels.
- Check for Seized Wheels: Over time, the tiny axles that hold your vacuum’s wheels gather pet hair and grit. If a wheel stops rolling and starts dragging, it will carve deep scratches into your expensive hardwood finishes.
- Clean the Axles: Monthly, turn the machine over and manually spin each wheel. If one is stuck, use a pair of tweezers or needle-nose pliers to pull out the compacted hair and debris.
- Wipe the Baseplate: Take a damp microfiber cloth and wipe down the bottom plastic plate of your vacuum. Grit and sand stick to this plate due to static electricity, turning your vacuum into a giant piece of sandpaper.
Special Focus: The Pet Owner’s Deep Clean Guide
If you share your Ohio home with shedding dogs or cats, the standard monthly maintenance checklist won’t be quite enough. Pet dander contains natural oils that cling to the inside of your vacuum, turning a simple appliance into a breeding ground for foul odors.
If your sweeper smells like “wet dog” every time you turn it on, try this deep clean protocol:
- Change the Bag Frequently: Pet hair is incredibly bulky. It fills up a vacuum bag much faster than normal household dust. The longer pet hair sits in a warm bag, the more it stinks. Change it when it is half full.
- Use Odor Absorbers: For bagged vacuums, drop a specialized vacuum scent tablet or a tablespoon of baking soda directly into the new bag before you start cleaning.
- Wash the Bin Rigorously: For bagless models, pet dander coats the inside of the cyclone. You must wash the entire bin in warm soapy water every single month. A simple wipe-down won’t cut through the pet oils.
- Check the Intake Port: Pet hair frequently clumps at the exact spot where the hose meets the base of the machine. Use a flashlight to check this “elbow” joint regularly.
Brand-Specific Maintenance Quirks to Watch For
While the fundamental rules of vacuum maintenance apply to almost all machines, different manufacturers have engineered unique features. Knowing your specific brand’s quirks can save you a massive headache during your monthly tune-up.
Premium Brands (SEBO, Miele, Riccar)
If you purchased a high-end, “Buy It For Life” machine from our showroom, maintenance is usually much simpler. These machines use massive, multi-layer synthetic bags that act as the primary filter.
- The Quirk: You rarely need to touch the pre-motor filter because the bags are so effective. However, when you buy a genuine box of Miele or SEBO bags, it usually comes with a fresh set of filters in the box. Do not throw them away! Change those secondary filters every time you open a new box of bags.
Dyson Vacuums
Dyson popularized the bagless, multi-cyclonic design. While you save money on bags, you pay for it with required maintenance.
- The Quirk: Dyson filters are notorious for holding onto fine dust. You must wash the conical center filter at least once a month. More importantly, it can take up to 48 hours to dry completely. If you reinstall it while it is even slightly damp, the motor will suck that moisture in and short-circuit the machine.
Shark Vacuums
Shark vacuums are highly popular, but they utilize a complex system of hoses and foam filters packed tightly together.
- The Quirk: Shark machines have two foam filters sitting directly beneath the dust canister. These must be washed monthly. Additionally, Shark brush rolls are known for seizing if not cleaned regularly. Fortunately, many models have a “brush roll garage” that pops open from the top, giving you easy access without needing a screwdriver.
Hoover and Bissell
These traditional brands are workhorses, but they still rely heavily on rubber stretch belts.
- The Quirk: The flat rubber belts on these budget-friendly machines stretch out relatively quickly, even if they don’t snap. For optimal performance, you should proactively replace a Hoover or Bissell flat belt every 6 to 12 months, regardless of whether it looks broken.
When Your DIY Checklist Isn’t Enough
Following these monthly care tips will solve the vast majority of common sweeper problems we see in Tuscarawas County. However, if you’ve gone through this entire checklist and your machine is still making a horrible grinding noise, smelling like electrical smoke, or refusing to pick up dirt, it’s time to call for help.
Trying to fix complex motor bearings, replace a burned-out circuit board, or perform DIY electrical work yourself is dangerous and often leads to permanent, unfixable damage.
That’s where we come in. At John’s Sweeper Service, we are the trusted local experts for residential vacuum repair. From strange whistling noises to a complete loss of power, we have the specialized tools and decades of experience needed to diagnose and fix the problem correctly the first time.
Stop By and Explore Cleaning History!
When you bring your machine to our downtown Dover shop for a tune-up, we invite you to stay for a fascinating trip through history.
Our storefront is proud to be home to the area’s only Vintage Vacuum Museum. Come see the heavy-duty metal machines of the past, check out the space-age sweepers of the 1960s, and learn why we are so passionate about preserving the history of keeping the American home clean.
Dedicate just 15 minutes a month to this checklist, and your vacuum will reward you for years. When you need genuine parts, honest advice, or a professional repair, visit John’s Sweeper Service today!
John’s Sweeper Service & Vintage Vacuum Museum Downtown Dover, OH
- Call: 330-343-4092 Free Estimates on All Repairs
Related reading: Heavy Duty Liquid Suction: A Guide to Wet-Dry Rentals