
Keeping your home clean in Tuscarawas County is a never-ending job. Whether you are battling heavy pet hair in New Philadelphia, tracking in winter slush in Dover, or dealing with yard dirt in Sugarcreek, your “sweeper” is your first line of defense.
At John’s Sweeper Service in downtown Dover, we know exactly what makes a vacuum tick. The absolute heart of your vacuum’s deep-cleaning power lies in its brush roll, also known as the beater bar.
When this critical component becomes choked with long hair, loose string, and carpet fibers, it simply cannot spin freely. If the bristles can’t agitate your carpet, your expensive vacuum essentially becomes an oversized, very weak broom.
Worse yet, a jammed roller puts massive, immediate strain on your vacuum’s rubber drive belt and electric motor. Regular beater bar cleaning is the absolute best DIY maintenance you can perform. It prevents costly repairs, protects your carpets, and keeps your machine running strong for years.
The Anatomy of a Brush Roll: Why It Gets Stuck
To understand why cleaning is so important, it helps to know how the part works. Your brush roll isn’t just a piece of plastic with bristles. It is a highly engineered, high-speed component.
First, you have the bristles. These are arranged in a specific pattern (usually a chevron or spiral) to funnel dirt toward the center suction hose.
Next, you have the belt track. This is the smooth groove where the rubber belt grabs the roller and connects it to the motor. If hair gets into this track, the belt slips and burns.
Finally, you have the end-cap bearings. These sit at the far left and right ends of the roller. They allow the brush to spin at thousands of revolutions per minute. When pet hair wraps tightly around the ends, it works its way into these bearings, seizing them completely.
Signs Your Sweeper Needs Immediate Attention
Not sure if it is time to perform this essential task? Your vacuum will usually give you a few clear, undeniable warning signs.
Ignoring these symptoms can quickly escalate a simple tangle into a snapped belt or a burned-out motor. Here is a quick reference guide to the most common signs of a choked brush roll:
The “Jammed Brush” Warning Signs
| What You Notice | What It Means | Immediate Action |
| A Visible Mat of Hair | Debris has completely wrapped around the bristles and bearings. | Flip the machine over and cut the hair away. |
| Sweeper is Hard to Push | The tangled brush is creating severe friction against the carpet. | Stop vacuuming to prevent motor strain and clean the roll. |
| Loss of Suction Power | The brush isn’t agitating the carpet fibers to lift the dirt up. | Inspect the roller and check for clogs in the nozzle. |
| Burning Rubber Smell | The brush is completely seized, but the motor is still spinning the belt. | Unplug immediately! You likely need a new belt. |
The Dangers of Ignoring a Tangled Brush
We see the aftermath of neglected brush rolls every single week at our shop. It rarely ends well for the vacuum.
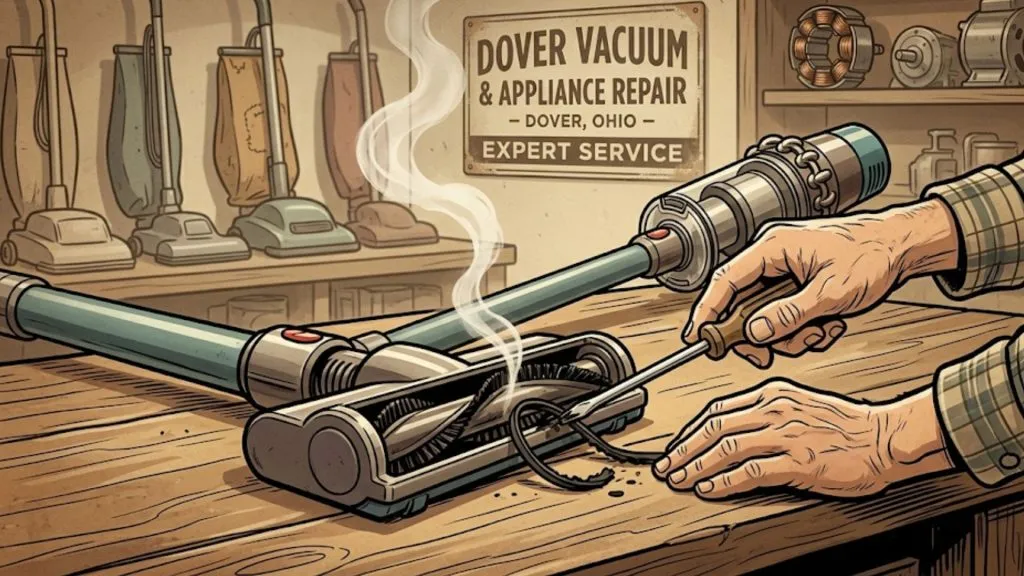
When the brush stops spinning but the motor keeps running, the rubber belt acts like a saw blade. The friction generates intense heat in a matter of seconds.
This heat will quickly snap the belt. If the vacuum is left running, the friction can actually melt the plastic housing of the vacuum cleaner itself, turning a $5 belt replacement into a permanently ruined machine.
Furthermore, the Carpet and Rug Institute notes that a properly functioning, freely spinning brush roll is absolutely essential for extending the life of your home’s carpets by removing abrasive grit.
Gathering Your Tools for the Job
You don’t need a professional repair workshop to tackle this maintenance. A few common household items will do the trick perfectly.
Having everything ready makes this process quick and painless. Here is what we use on our workbenches in Dover:
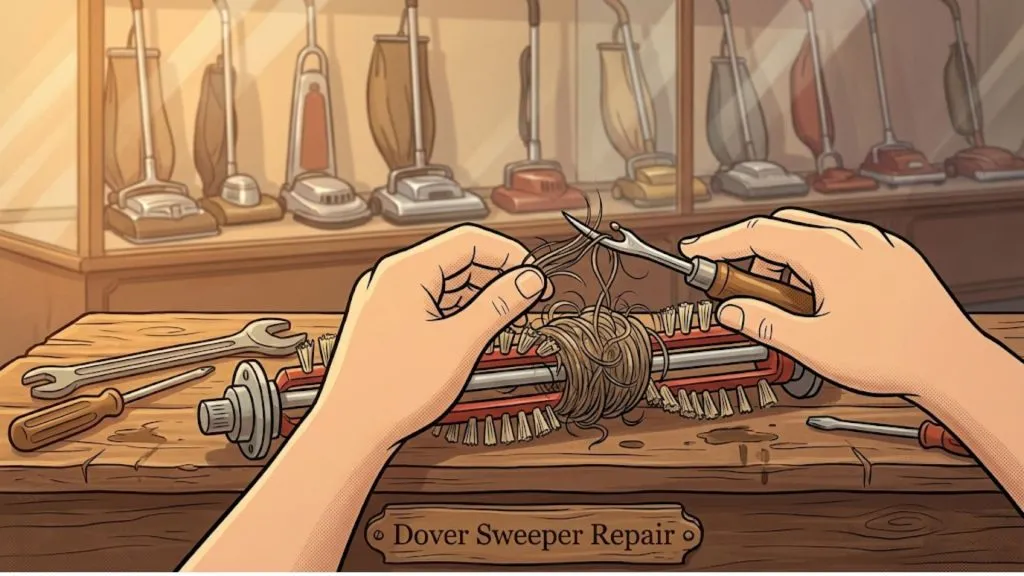
- Seam Ripper: This simple sewing tool is safer and much more effective than scissors for getting under dense threads without accidentally cutting the vacuum’s bristles.
- Small Scissors: A sharp pair of scissors helps cut through thick, stubborn mats of pet hair. Avoid large kitchen knives, which can damage the plastic.
- Phillips Screwdriver: Most traditional and heavy-duty vacuums require this to remove the bottom soleplate.
- Needle-Nose Pliers: These are perfect for pulling out embedded, compacted debris trapped near the end-cap bearings.
- Soft Cloth or Brush: You will use this to wipe out the dusty housing once the roller is clean.
The Proactive Sweeper Maintenance Checklist
Don’t wait for the burning rubber smell. Use this quick checklist to stay ahead of the mess, especially if you have shedding pets in the house.
- Quick Visual Check (Before Every Use): Flip the machine and look for rogue socks or heavy hair buildup.
- The “Snip and Pull” (Monthly): Run a seam ripper down the groove of the brush roll to cut away accumulated hair before it becomes a tight mat.
- Deep Clean and Bearing Check (Every 6 Months): Remove the bottom plate, take the brush out completely, and clear the bearings.
- Belt Inspection (Every 6 Months): While the brush is out, check the rubber belt for dry rot, stretching, or glossy burned spots.
- Filter Check (Monthly): A clean brush can’t compensate for a clogged filter. Wash or replace filters regularly.
The 5-Step Guide to Deep Cleaning Your Brush Roll
Now that you have your tools and know the warning signs, you are ready to restore your sweeper’s performance.
Here is how to safely service your machine at home without causing accidental damage:
Step 1: Unplug the Machine (Safety First!)
Never, ever work on any part of your vacuum while it is connected to power. Always unplug appliances before performing DIY maintenance to prevent accidental, dangerous startups.
Step 2: Access the Brush Roll
Lay the vacuum down gently on a clear, well-lit floor. Flip it over to access the bottom plate (often called the soleplate). Use your screwdriver to remove the screws holding the plate in place, and set them safely aside in a small bowl.
Step 3: Remove the Roller
Gently lift one end of the brush roll and carefully unhook the rubber drive belt. Lift the entire brush roll completely out of the vacuum head so you can work on it comfortably at a table or workbench.
Step 4: Cut the Hair (Don’t Pull!)
Take your seam ripper or small scissors and carefully cut a straight line across the tangled hair and fibers. Always cut parallel to the bristles to avoid snipping them off. Once cut, use your fingers or pliers to peel the thick mat of debris away from the bar. Pay special attention to the far left and right ends (the bearings), where hair loves to hide and wrap tightly.
Step 5: Clean the Housing and Reassemble
Take your cloth and wipe out the dusty housing where the brush sits. Loop the belt back over the motor shaft, then over the clean brush roll track. Settle the roller back into its slots, give it a manual spin to check the tension, and screw the bottom plate back on securely.
Brand-Specific Quirks to Watch For
While the basic cleaning process is universal, some major vacuum brands have unique design quirks. Knowing these can save you a lot of frustration during reassembly.
- Shark Vacuums: Many modern Sharks feature a convenient “brush roll garage.” You simply pop open a hinged lid on the top of the cleaner head for instant, tool-free access to the roller.
- Dyson Vacuums: Dyson is known for user-friendly, snap-together engineering. Instead of screws, look for a small plastic cap on the side of the cleaner head. Turn it with a coin to unlock and slide the brush out from the side.
- Hoover, SEBO, and Riccar: These high-quality, heavy-duty machines often stick to the robust, traditional design. You will almost always need a Phillips screwdriver to remove a sturdy, protective bottom plate.
When DIY Isn’t Enough: Call the Dover Pros
We believe in empowering our local customers with the knowledge to handle basic DIY maintenance. However, sometimes a problem requires an expert touch and professional tools.
If you’ve thoroughly cleaned your brush roll and it is still refusing to spin, you likely have a much more significant mechanical issue.
You could be dealing with seized, rusted bearings, a stretched or snapped belt, or a failing motor. Forcing the machine to run in this compromised state will undoubtedly cause further, more expensive damage.
That is exactly where we come in. If you are stuck, bring your machine to the experts for residential vacuum repair. We are the premier destination for sweeper service in Tuscarawas County, offering honest, free estimates so you always know the cost upfront before we begin any work.
Experience History at Our Local Museum
After you drop off your machine for service, why not reward yourself with a truly unique local experience right here in town?
When you visit our downtown Dover shop, you are also visiting the home of our one-of-a-kind Vintage Vacuum Museum. Come see the fascinating evolution of the machines that have kept American homes clean for over a century, right here in our showroom.
Keep your floors pristine and your sweeper running strong. Visit John’s Sweeper Service today for expert advice, quality parts, and reliable repairs.
John’s Sweeper Service & Vintage Vacuum Museum
- Call: 330-343-4092 Free Estimates on All Repairs
Related reading: SEBO Wins Newsweek Reader’s Choice Award!