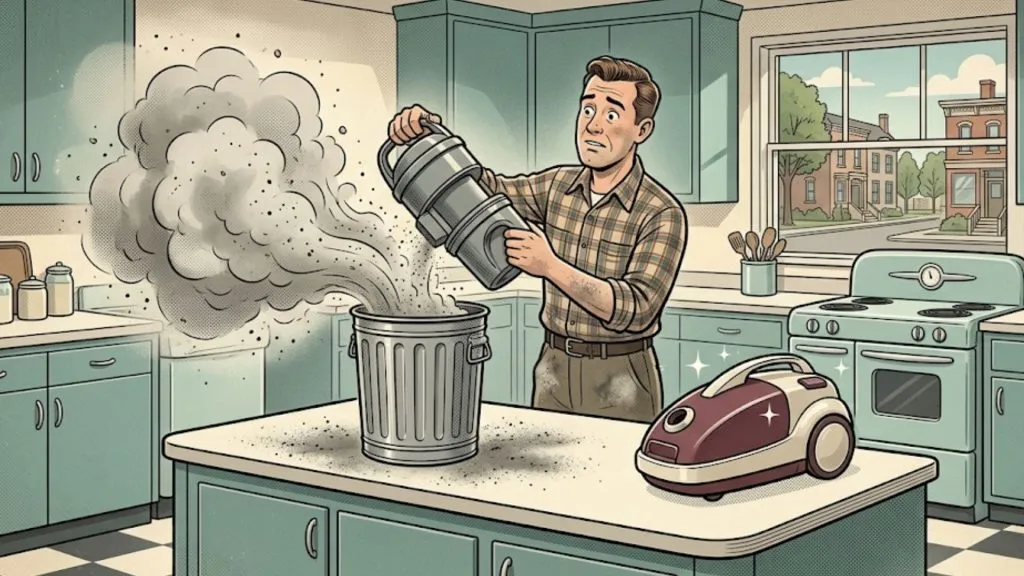

A sudden drop in your vacuum’s performance can ruin your weekend cleaning plans. You are pushing your sweeper across your New Philadelphia living room, but it’s suddenly leaving behind pet hair and dirt it used to pick up effortlessly.
You might check the bag or look for a clog in the hose, but more often than not, the culprit is one of the most common vacuum problems we see: a worn or broken belt.
This small, inexpensive rubber band is the unsung hero of your machine. It is crucial for spinning the brush roll, which agitates your carpet fibers to lift deep-down dirt. Without a functioning belt, your heavy-duty upright vacuum essentially becomes a very weak, oversized broom.
The good news? Diagnosing and fixing a vacuum cleaner belt is often a straightforward task you can tackle in a matter of minutes. Here at John’s Sweeper Service in downtown Dover, we’ve seen every type of broken belt imaginable. Today, we’re here to guide you through the process step-by-step so you can get back to your weekend.
Spotting the Symptoms: Is It Really the Belt?
The signs of a failing belt can range from a subtle loss of power to a dramatic, smoky mess. If your vacuum suddenly seems lazy, the belt should be your very first suspect.
A complete snap is obvious—you will hear a “pop” and the brush will instantly stop turning. But a stretched or slipping belt can cause a gradual decline in cleaning power that you might not notice right away. Here is a quick reference guide to the most common warning signs we see from our Tuscarawas County customers:
The Quick-Check Troubleshooting Table
| Warning Sign | What It Usually Means | Immediate Action |
| Brush Roll Not Spinning | The belt has snapped entirely or slipped completely off its designated track. | Turn off the machine and inspect the underside. |
| High-Pitched Squealing | The belt is stretched, misaligned, or slipping against the metal motor shaft. | Replace the belt to restore full power and prevent damage. |
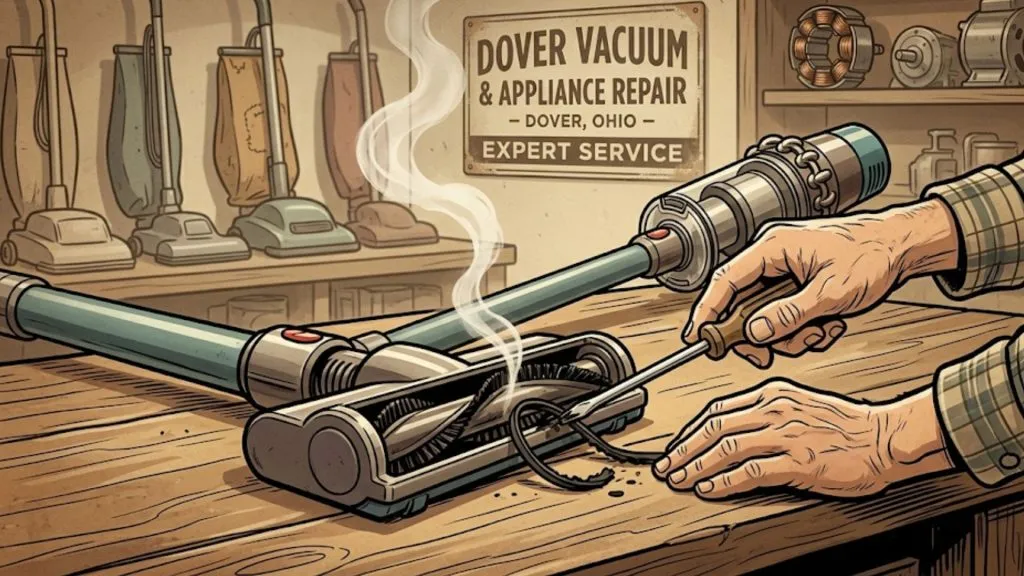
| Burning Rubber Smell | The brush is jammed. The motor is spinning, melting the stationary rubber belt. | Unplug immediately! Clear the jam before proceeding. |
| No Suction at the Floor | The hose works perfectly, but the floor nozzle leaves dirt behind. | Check the brush roll for tangles and test the belt tension. |
Note: That unmistakable burning smell is a serious warning sign. The friction generated by a spinning motor shaft against a jammed belt can quickly melt the surrounding plastic components if left running.
Why Did My Vacuum Belt Break in the First Place?
Before you rush to replace the belt, it helps to understand why it failed. Belts don’t just break for no reason. Understanding the root cause can prevent you from snapping your brand-new replacement belt five minutes after you install it.
1. The “Rogue Sock” or Rug Fringe
This is the number one cause of broken belts in homes across Dover and Sugarcreek. You are vacuuming near a bed or a hallway runner, and the sweeper sucks up a stray sock, a shoelace, or the fringe of an area rug. The brush roll instantly stops dead, but the motor keeps spinning. The immense friction snaps or melts the belt within seconds.
2. The Hair Wrap
If you have long-haired family members or shedding pets, hair will inevitably wrap around the brush roll. Over time, this hair works its way into the side bearings of the brush roll, creating massive resistance. The belt has to work twice as hard to turn the brush, eventually stretching out and snapping from the strain.
3. Dry Rot and Old Age
Rubber degrades over time. Even if you keep your vacuum stored perfectly in your closet, a rubber belt will eventually dry out, become brittle, and crack. If you haven’t replaced your vacuum belt in over a year, it is likely running on borrowed time.
4. Incorrect Height Settings
If you have a manual height adjustment on your vacuum and you leave it on the “bare floor” setting while trying to clean plush, thick carpet, the brush digs too deeply into the fibers. The Carpet and Rug Institute notes that this immense drag not only ruins your carpet but puts incredible stress on the vacuum belt, causing it to stretch and slip.
The Anatomy of a Vacuum Belt (Not All Are Created Equal)
At John’s Sweeper Service, we often talk to customers about the difference between cheap “big-box” vacuums and the heavy-duty “Buy It For Life” machines we sell. The type of belt your machine uses tells you a lot about its quality.
Flat Rubber Belts
These are found on almost all budget-friendly vacuums. They look like thick, flat rubber bands. They rely purely on tension to spin the brush. Because they are constantly stretched, they lose their elasticity quickly. If you have a flat belt, you should expect to replace it every 6 to 12 months for optimal performance.
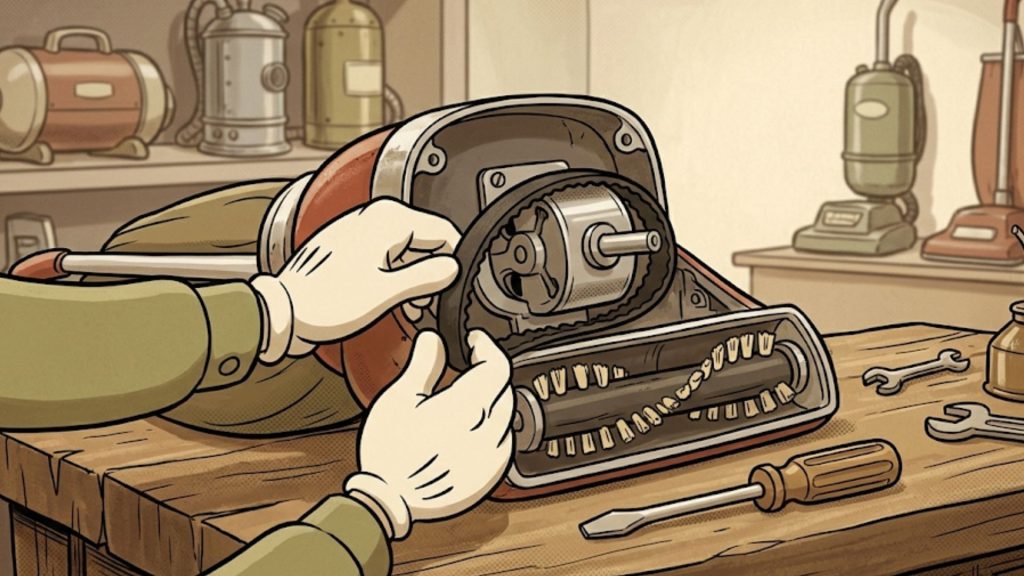
Geared or “Cogged” Belts
These belts have teeth on the inside, much like the timing belt in your car. They fit into corresponding grooves on the motor shaft and the brush roll. You will find these on premium brands like SEBO and Riccar. Because they don’t rely on stretching for tension, they rarely slip and can last for years without needing replacement. Furthermore, many of these high-end machines feature automatic shut-off sensors that kill the motor if a sock is sucked up, saving the belt from snapping entirely.
How to Check Your Vacuum Belt: A 5-Minute Visual Inspection
Before you rush out to buy parts, a quick visual inspection can confirm your suspicions. This simple diagnostic requires no special tools and can be done right on your living room floor.
Always put safety first during any DIY appliance repair. As recommended by the Electrical Safety Foundation, the absolute most critical step is to completely unplug your vacuum cleaner from the wall outlet to eliminate any risk of accidental startup while your hands are near the moving parts.
- Access the Brush Roll: Lay the vacuum down gently on the floor so you can get a clear view of the underside. You will need to remove the bottom plate that covers the brush roll and the belt housing.
- Remove the Bottom Plate: This plate is usually held in place by a few screws or, on some models, simple locking tabs. Use a coin or a Phillips/flathead screwdriver to release them, then lift the bottom plate off.
- Inspect the Belt: Look closely at the rubber belt. Is it snapped in two? Is it lying loose inside the housing? If so, you’ve found your problem.
- Test the Tension: If the belt is still in one piece and attached to the motor, gently pull on it with your finger. A healthy flat belt should have some give but feel very firm, like a tight guitar string. If it feels mushy, loose, or easily pulls away from the brush roll, it has lost its elasticity.
- Look for Glazing: Sometimes a belt won’t snap, but it will suffer from “glazing.” This means the friction has burned the rubber, leaving a shiny, hard surface on the inside of the belt. A glazed belt cannot grip the brush roll and must be replaced.
The Danger of Buying Generic Parts Online
Once you realize you need a new belt, the temptation is to hop online and order a cheap, generic 3-pack from an anonymous seller. We highly advise against this.
Generic belts are often made from inferior, thin rubber compounds. They might look identical to the original part, but they stretch out in a fraction of the time. Even worse, if a generic belt is just a millimeter too tight, it will put excessive pressure on your motor bearings. A $2 generic belt can easily destroy a $150 vacuum motor.
To ensure your machine runs the way it was designed to, always use genuine manufacturer parts. We stock an incredible variety of genuine residential sweeper supplies right here in our Dover shop. Bring your broken belt or your vacuum’s model number to us, and we will hand you the exact right fit.
Fixing It: Your Step-by-Step DIY Replacement Guide
Replacing the belt is an achievable DIY repair that can immediately restore your machine’s deep-cleaning performance. The consumer advocates at Consumer Reports regularly note that simple belt and filter changes are the absolute best ways to extend the life of your appliance and keep it out of the Tuscarawas County landfill.
Here is how to get the job done right:
Step 1: Remove the Brush Roll
With the bottom plate already off (from your visual inspection), lift the brush roll out of its housing. It usually slides straight up and out. Slide the old, broken belt off the brush roll and discard it.
Step 2: Clean the Brush Roll
Before putting a new belt on, take a moment to cut away any hair, string, or carpet fibers wrapped around the bristles. Use a pair of scissors and run them carefully along the groove of the brush roll. Ensure the end caps spin freely.
Step 3: Loop the Motor Shaft First
Take your brand-new belt. Feed it through the housing and loop it securely around the metal motor shaft (the small metal pin protruding from the back of the vacuum head).
Step 4: Stretch and Fit
This is the part that requires a little elbow grease. With the belt looped over the motor shaft, slide the other end of the belt over the designated track on the brush roll. You will have to pull firmly to stretch the belt into place.
Step 5: Reinstall the Brush Roll
While keeping the tension on the belt, carefully place the brush roll back into its housing. Make sure the end caps on the brush roll slide perfectly into their designated slots.
Step 6: The Spin Test
Before you put the plate back on, rotate the brush roll by hand a few times. You should feel significant resistance from the motor, and the belt should stay firmly centered in its track. If it spins too easily, the belt is not engaged with the motor shaft.
Step 7: Close It Up
Replace the bottom plate, tighten the screws, plug the machine back in, and test it out. Your vacuum should sound powerful, and the brush should aggressively groom your carpet.
Proactive Maintenance: Making Your Next Belt Last
Now that you have a fresh belt installed, you want to keep it running for as long as possible. A few simple maintenance habits can double the life of your flat rubber belts:
- Clear the Floor First: Do a quick scan of the room before you turn the machine on. Pick up pennies, bobby pins, socks, and large paper clips by hand.
- Monthly Hair Removal: Don’t wait for the brush roll to completely choke. Once a month, flip the vacuum over and snip away accumulated hair.
- Adjust Your Height: If you feel like you have to push with all your body weight to move the vacuum forward, your setting is too low. Raise the nozzle height until the machine glides easily while still making contact with the carpet fibers.
When to Call the Pros in Dover, OH
While a sweeper belt repair is usually a simple DIY job, we completely understand that it isn’t for everyone. Perhaps you are short on time, the screws on the bottom plate are stripped, or you replaced the belt but the brush is still refusing to spin.
This could indicate a much more serious issue. You might be dealing with a seized brush roll bearing that has rusted shut, a wiring issue in the neck of the vacuum, or a failing motor. In these cases, forcing the repair can cause irreversible damage to the plastic housing.
That is where the expert team at John’s Sweeper Service comes in. As the trusted source for residential vacuum repair in Tuscarawas County, we have the specialized tools, decades of experience, and genuine parts to get the job done correctly. We can quickly determine if the issue is just a stubborn belt or part of a larger mechanical problem.
Visit Our Shop and Historic Museum Today!
When you drop your machine off for service, we highly encourage you to take a few minutes to explore our one-of-a-kind Vintage Vacuum Museum right here in our store.
It is a fascinating trip through the history of cleaning technology that our local customers love. You can see the heavy-duty metal machines of the 1930s and 40s—machines that were built so well they rarely ever snapped a belt! We are more than just a repair shop; we are a destination for the community to learn about the history of the American home.
Don’t let a broken belt or a burnt rubber smell ruin your sweeper. Visit John’s Sweeper Service in Downtown Dover for parts, expert repairs, and neighborly advice.
John’s Sweeper Service & Vintage Vacuum Museum 233 W 3rd St, Dover, OH 44622 Call: 330-343-4092 Free Estimates on All Repairs
Related reading: How to Clean Your Vacuum’s Brush Roll: Easy Steps